rleete wrote:Soak that thing with PB Blaster or some other quality penetrating oil. Use a name brand, like Kroil, Liquid Wrench or LPS. NOT WD-40! Really soak it and let it sit overnight. Spray it again in the morning. Use it liberally on any mating surfaces. Get into every nook and cranny you can, and after a day things will start to free up. If you've never used the stuff, it's really amazing what it can do if you give it time to work. It will also help with cleaning the rusty bits.
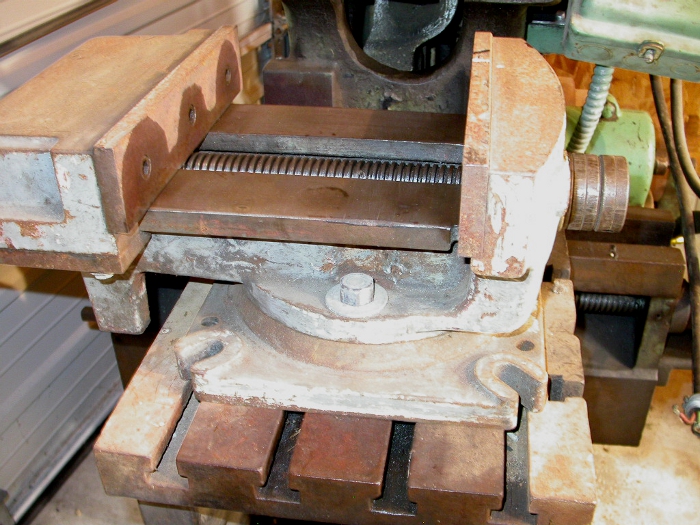
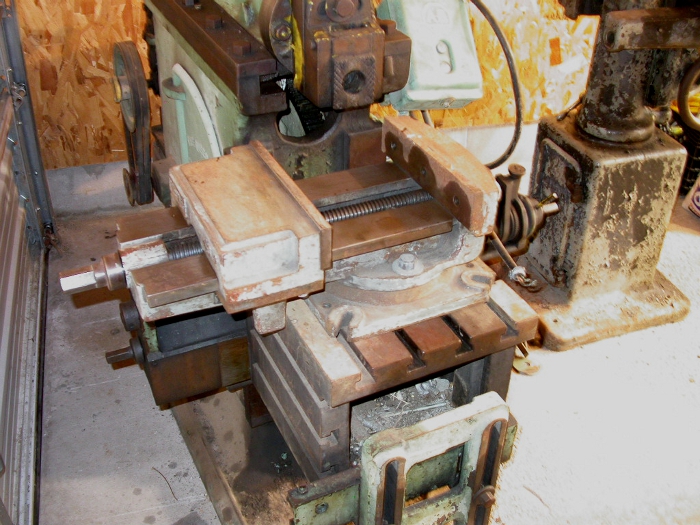
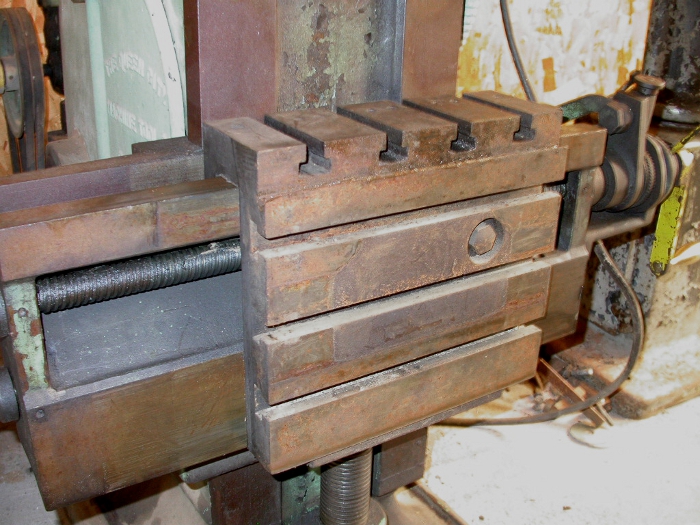
I'm betting the horizontal leadscrew goes through a block on the back part of that table, and it probably pinned/screwed in place from the back. Think minilathe cross slide. I think you're going to have to pull the leadscrew out to get it off.
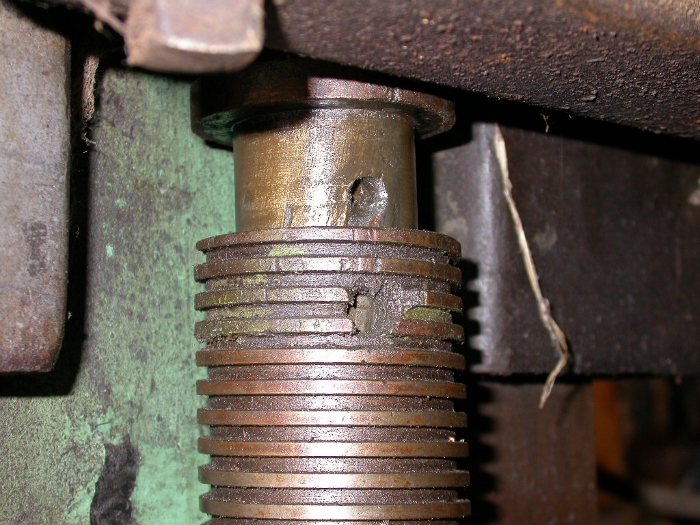
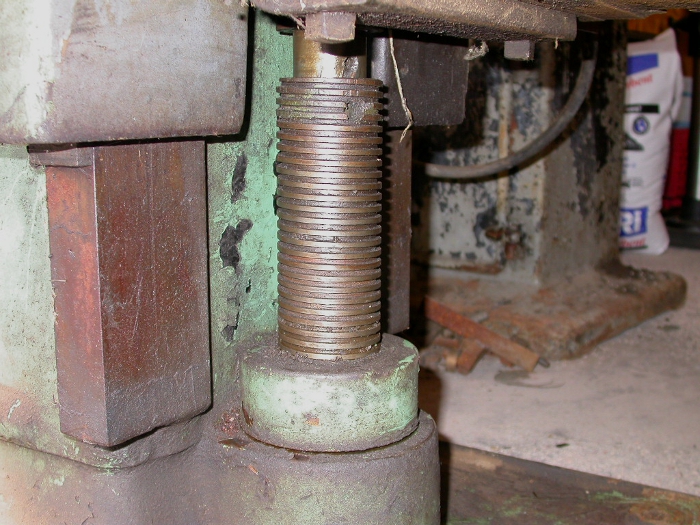
That vertical screw doesn't look that bad. There's a gap in the thread when it was pinned, but it's only chipped off a little. I'd just clean it up and reuse it as is. But use the penetrating oil, don't force it with the screw.
Edit: where are you located? I love to tear into old machines. A little scrubbing with a wire brush, a lick of paint and it'll look like new.
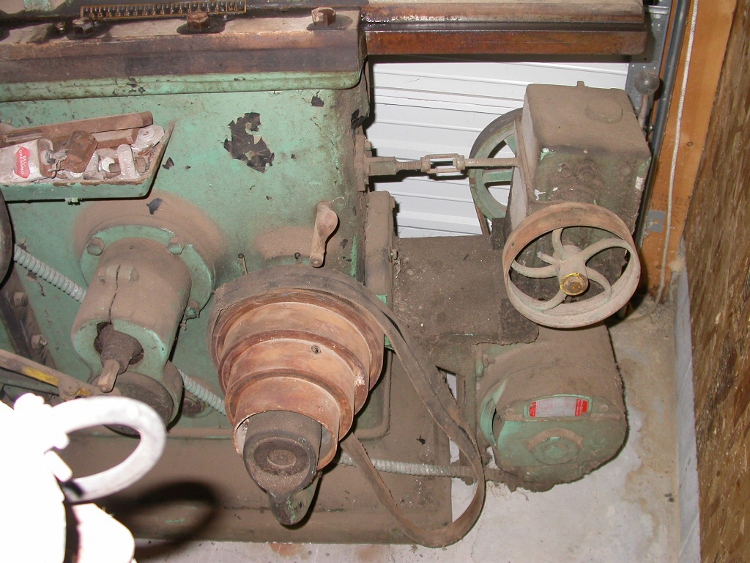
We think alike on how to approach this. All moving parts on the shaper have been liberally drenched with Kroil for the past couple of weeks. It has really been fantastic how things have freed up, some I didn't even know could be freed.


That stuff is great albeit a pain in the butt to get hold of. It was actually cheapest and easiest for me to get by ordering it directly from the company. They even threw in my choice of Silikroil or Penephite
http://www.kanolabs.com/penLub.html The SiliKroil has worked extremely well, btw.
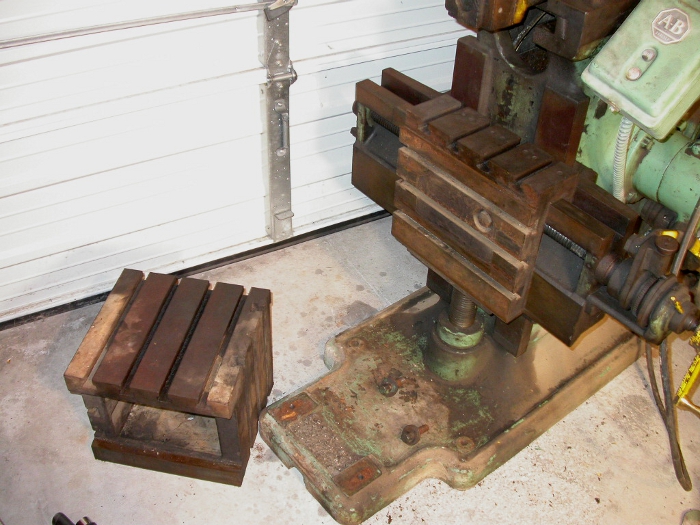
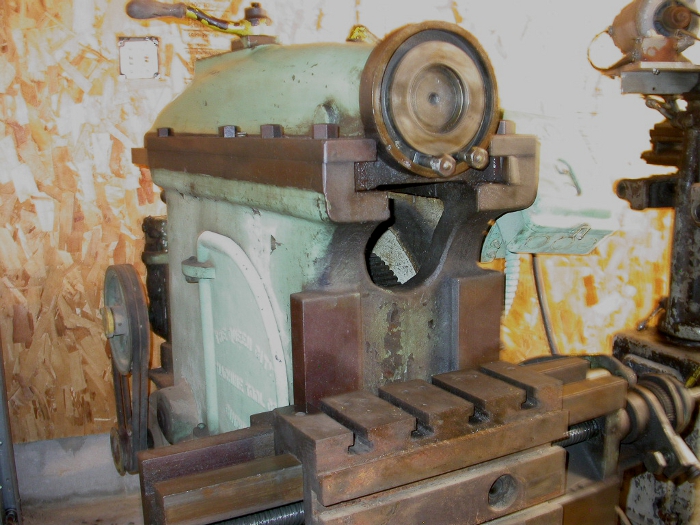
I'm thinking that you are correct on having to remove the leadscrew. I've already taken a couple pictures of the auto-advance mechanism to document it for re-assembly. Nothing worse than having a pile of parts and being unsure of "Which goes on first?". Along with the Kroil I also loosened the bolts that hold the horizontal slide onto the vertical track. Even with that the thing is still rock solid and shows absolutely no sign of being able to move up or down. Over the weekend I think I am going to try placing a jack underneath of it (with proper padding) to see if it can be broken free at least.
Do you really think the vertical screw can be used the way it is? That kind of surprises me. I guess I'm not really sure just how much strain gets put on that piece once everything is loose and working properly so maybe it will be okay. Once I get the parts out and can really give them a good going over that won't looks as bad, but I've got to say that I have my doubts. My oldest daughter says I'm a pessimist.

As for location, I think it may be a bit far (Nebraska) but you're welcome to grab a wire brush and go at it.

Thanks much,
-Ron
 B
B